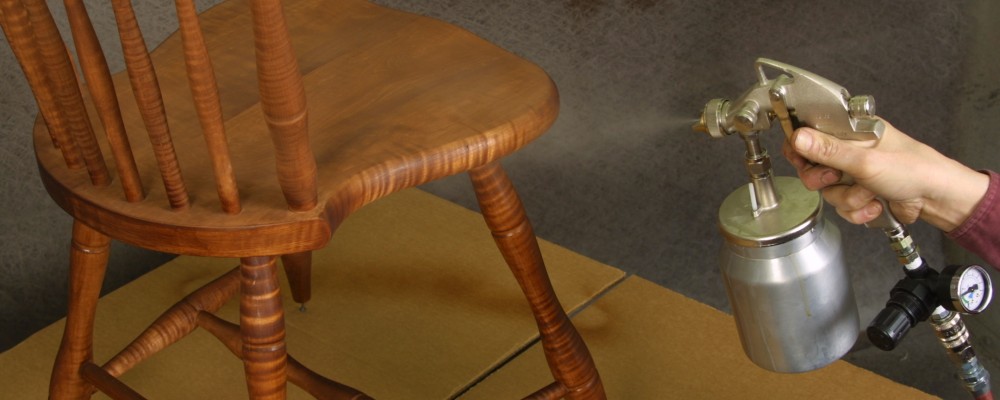
 When you’re working on cabinets, chairs, benches or anything else for the home, the best possible finish really makes all the difference. It is the difference between looking professional, and looking like an amateur cobbled it together over a weekend. Even if that’s your reality, these tips will help you overcome some of those amateur speedbumps and excel at the art of finish carpentry.
Practice Makes Perfect
The first tip is to practice frequently. The more you try out different tools, and learn different skills, the better your available skillset and confidence level will be. You’ll go from “how could I possibly do this”, to “how can I make this possible”. That only comes from trying out a broad range of tools and repeating certain actions. Got a lot of scrap wood? Time to learn how to use your saw or your miter box to make precision or angled cuts.
Upside Down Cuts
If you’re cutting across the grain, you’re probably struggling with splintering along the wood. If this is the case, flip over the wood and you’ll see quite different results. Crown molding has to be cut upside down. When you’re working with triangular lumber, nail it into the corner of walls or joints. Practice this frequently so you get a good finish.
Glue and Staining
The final tip has to do with staining, which is where your cabinets really shine their brightest. If you want the best possible stain, it all starts with gluing properly. Avoid excess glue, which is such a simple mistake to make that even pros do it. If you do apply too much glue, wipe the furniture clean but try to avoid doing that too often. You end up using a damp rag, which clogs the pores in the wood. Later, when you’re staining the wood, you end up with uneven colors.
Archbishop James Provence retired from the Church and currently resides in Vacaville. James Provence is an amateur furniture maker, who is also a volunteer docent at the California State Railway Museum.
